Hello there, Blog Friends!
Today I'm going to give you my step-by-step directions on how to make my favorite thing in the whole world...Hula Hoops!
I've been hooping for almost 2 years and it has brought me so much personal pleasure and I am really looking forward to sharing with all of you what a great time you can have with a hoop of your own! The instructions I'm giving are just the way I do things but remember to be open minded when creating your own. Always experiment with new sizes, materials, tapes, etc. Let your creative juices flow! :)
STEP ONE:
Gather materials! I got this plumbing tubing from Canadian Tire. Pretty much any home improvement store will have the materials you're looking for (although I've never had any luck at Rona for some reason?) Just head to the plumbing section and look around. Feel free to pick up the tubing and feel for heaviness. It shouldn't weigh a ton but make sure its not too light or you will have a hard time getting momentum while learning new tricks! The stuff I have in the pictures is labelled 3/4" ID PE PIPE and 75 PSI. I'm not sure what exactly this means, but I hope it helps. I got a 50 ft roll of this stuff for $17! I have made 5 or 6 hoops just from this one roll...thats bang for your buck! Next find a double ended male connector the same size as the inner size of your tubing. In this case the 3/4" tubing gets a 3/4" connector. This all sounds obvious but if you're not careful, you could end up buying tubing that is larger on the outside than on the inside. Always stick the connector in one end of the tubing (as much as you can, it should be really tight), just to make sure you have the correct sizes.


Measure your tubing to make a perfect sized hoop just for you! :) I like mine to be up to my belly button, but again...experiment!! If you do need to alter the size of the tubing, I find a hack saw works very well for this (I've also used a seraded blade kitchen knife...I wouldn't recommend this!) but please kids...be very very careful!!
STEP THREE:
This step is optional. I have to admit, while making my first few hoops, I totally skipped this step in an effort to finish as quick as I could and get hooping! I like to heat up the ends of the tubing so the plastic expands and the connector fits in better,and then once the plastic cools down in shrinks and gets really tight around the connector so your hoop stays together nice and tight! Also, heating up the ends helps make the tubing go into a perfect circle shape. Without doing this, you may get a hoop that looks more like an egg! Its not a big deal, but it's just nice to get it exactly right! ;)
To do this, I just fill a pot with water and bring it to a boil. Then I stick both ends of the tubing in the water and leave in there for a few minuites until the tubing becomes warm and more pliable. Now, stick the connector in both sides and let it cool down :)
STEP FOUR:
This is probably my favorite step: TAPING!! The possibilities are truly endless! You can find tons of tape anywhere...Walmart, Michaels, Canadian Tire...seriously just keep your eyes peeled! I like to use duct tape and hockey tape as these are inexpensive, readily available and more durable than fancy glitter tape (cheaper tape is good if you're just learning or if you'll have little ones playing with your new toy as the tape doesn't scrape or peel off as quickly). If you are looking for something a little more fancy I've found a great web site is
http://www.identi-tape.com or the always amazing
http://www.etsy.com
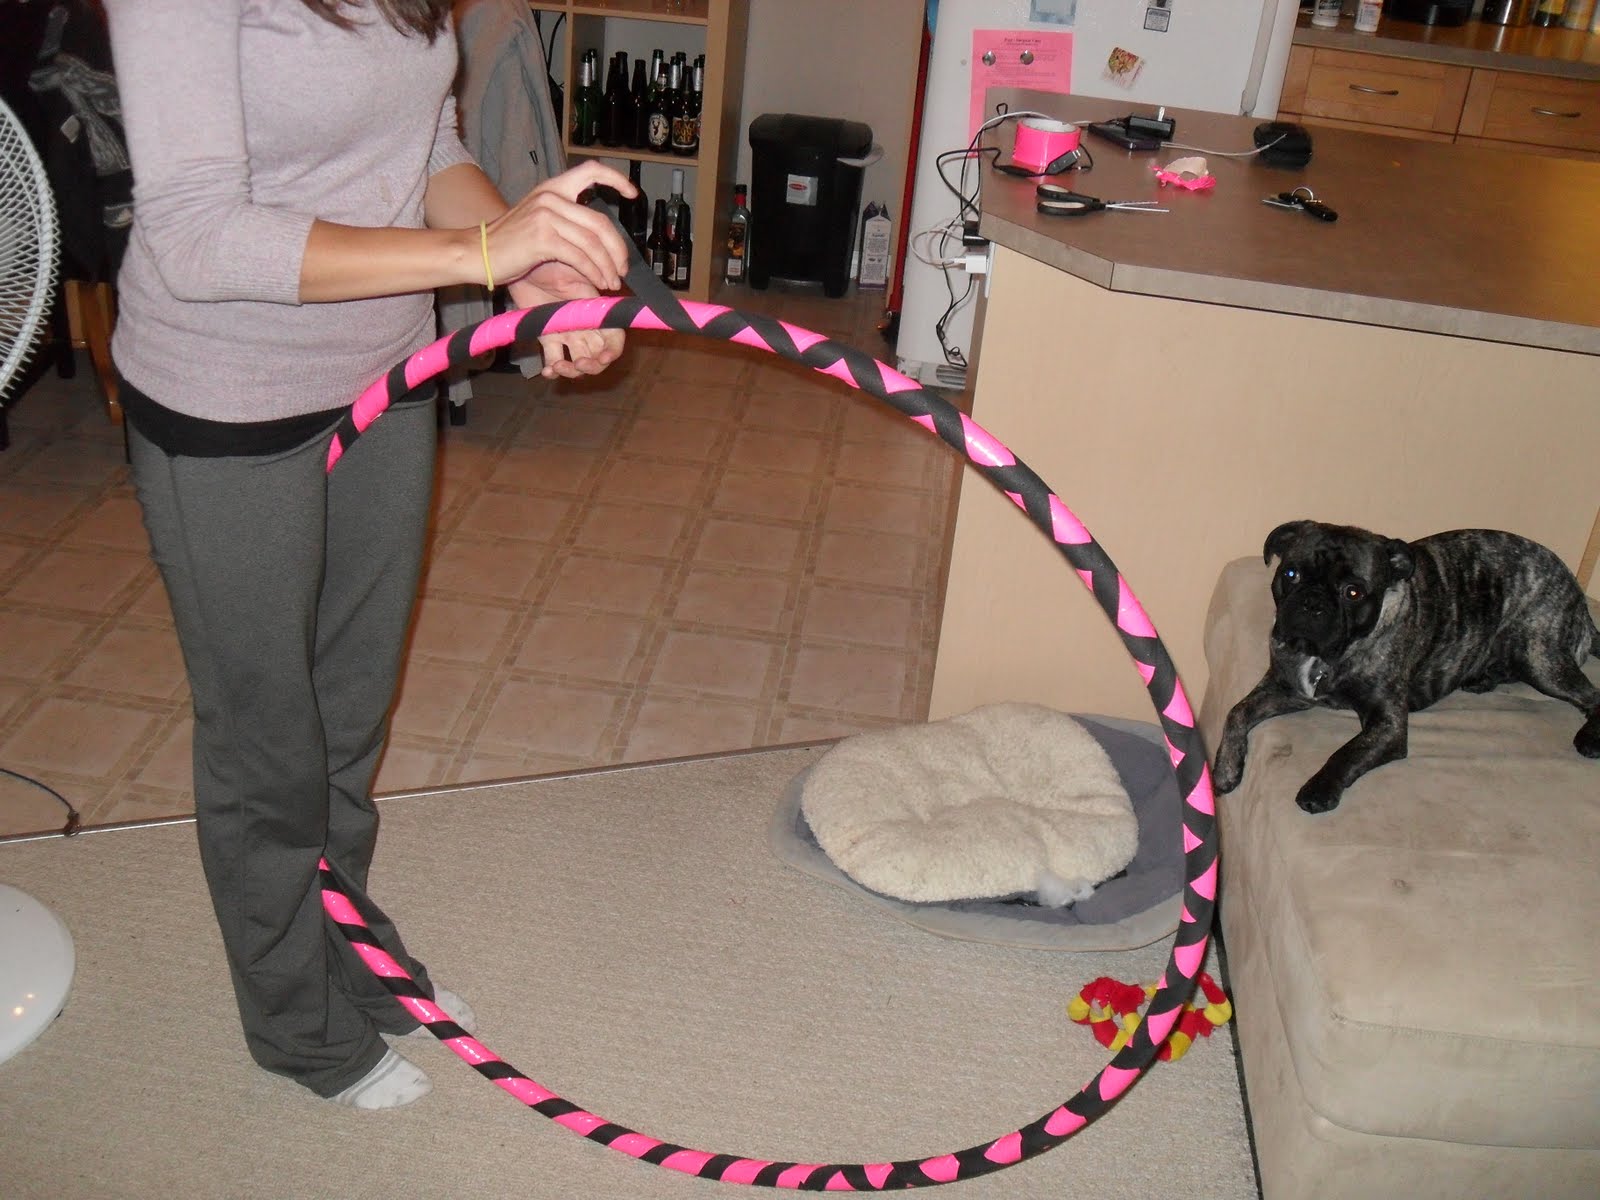
So just start by wrapping your tape around the connector. I always do a couple rounds here, just to be on the safe side! Then continue wrapping, being mindful of creases and the amount of tape left on your roll (I've definitely ran out of tape..trust me-it sucks!). Put down your base color (in this case the flourescent pink) and if you feel up to it, put on layers of other colors. Try going different directions and different angles to make this an expression of you!
In this picture I am going the opposite way with the black that I had in the previous pictures. This gives a really cool effect if you use different colors...or GLITTER TAPE!!
Finished product!! :D
STEP FIVE:
Okay, I lied. This is most definitely my favorite step. Get moving and get hooping! :) Enjoy your new toy, and don't get discouraged. When you drop your hoop, pick it back up and try again!
I hope these directions were clear enough and I'm hoping you all enjoy hula hooping as much as I do! If you feel like you would like to start hooping but you're not up to making your own, please let me know (my email is m_lucier@hotmail.com) and I will make a hoop just for you! :)