Enjoy! :)
Thursday, 29 December 2011
Who's a bad dog?
I seen this adorable "bad dog" video on YouTube and I couldn't resist posting it while I get a couple new crafty posts prepared. It's been so long since I've posted, I feel like the poor little guy in the video!

Saturday, 12 November 2011
Tasty Treats: Pop Rock Martini
Hey Guys!!
This post is inspired by a delicious martini that a friend had told me about and I just had to find the recipe! Its really colorful and fun to drink, every sip has pop rocks exploding in your mouth!

Step One:
Get your ingredients!
 A package (or 4! they're just so irresistible!) of Pop Rocks. I used Wild Berry!
Blue Curacao
Vodka
Cranberry Juice
Martini shaker
chilled martini glass
Step Two:
Rim martini glass! I just wet the rim with water but you could cut a wedge of lime and rub that around the rim. Pour the Pop Rocks onto a plate and rub the top of the glass in it.


This post is inspired by a delicious martini that a friend had told me about and I just had to find the recipe! Its really colorful and fun to drink, every sip has pop rocks exploding in your mouth!

sorry for the TERRIBLE photo...sheesh...
Step One:
Get your ingredients!

Blue Curacao
Vodka
Cranberry Juice
Martini shaker
chilled martini glass
Step Two:
Rim martini glass! I just wet the rim with water but you could cut a wedge of lime and rub that around the rim. Pour the Pop Rocks onto a plate and rub the top of the glass in it.

Step 3:
Mix it up! I used one ounce cranberry juice to one ounce vodka and I found this a little strong. Maybe 1 1/2 ounce cranberry juice to 1 ounce vodka would be better! Put these into a martini shaker with ice and shake shake shake! Pour mixture into the rimmed glass. Next pour the blue liqueur into the center of the mixture very slowly (I used about an ounce of this as well). There should be two distinct layers here.

two distinct layers :)
Now this could be enough for some people but I thought it to be too strong still so I added a little 7Up to the glass and it was delicious! Feel free to garnish with candy (jelly beans, suckers etc). Now go enjoy your PERFECT ladies night drink! Enjoy these in moderation however...all the sugar sure gives a girl a headache the next morning if she isn't careful! ;)
Thursday, 3 November 2011
How To: Make a Twig Vase
Well Hello There!
Long time no talk!! Sorry I've been M.I.A the last few weeks, I've been so busy!! I've started working two jobs again, leaving me serving 50+ hours a week plus studying makes for no Meagan time. I've got a couple posts ready to go so I'll be posting a few things in the next few days! So here we go!

I found this tutorial online and I just had to try it! I just love the woodland look and it was really simple! A fantastic fall craft, just make sure to get out and get your sticks before all the snow falls!
Step One:
Gather Materials! You will need:


Long time no talk!! Sorry I've been M.I.A the last few weeks, I've been so busy!! I've started working two jobs again, leaving me serving 50+ hours a week plus studying makes for no Meagan time. I've got a couple posts ready to go so I'll be posting a few things in the next few days! So here we go!

I found this tutorial online and I just had to try it! I just love the woodland look and it was really simple! A fantastic fall craft, just make sure to get out and get your sticks before all the snow falls!
Step One:
Gather Materials! You will need:

- a TON of branches and twigs! With it being fall and all you should be able to find a bunch in your favorite local park without having to rip branches off the trees in your back yard :)
- a coffee can, large tin can or some kind of canister. I used an old hot chocolate container!
- black poster board
- hot glue gun and LOTS of glue sticks
Step Two:
Wrap your can in black poster board to make sure you can't see the can poking through the spaces in between the twigs. Just measure the can and measure out on the paper. I found using a fabric measuring tape was best because it's so flexible. After its all cut out, use your hot glue gun to glue it around the can.

Step Three:
Glue twigs on to the can. I glued the bigger ones on and then filled in the spaces in between with smaller, more flexible twigs. Don't worry if it doesn't look perfect-its the rustic look of this craft that's so appealing.
Please be so careful while working with your hot glue gun! I sustained an injury while gluing a twig on and had to shut the whole operation down for a little while! Just be mindful about what your doing at all times (and where the tip of the glue gun is!) :)

Step Four:
Accessorize! I wrapped a cute piece of twine around my twig vase, but add your own personal touch! Then fill with dried or fresh flowers and show off to all your friends! I think this would be a beautiful handmade gift for a housewarming or Christmas present.

As always, have fun. Experiment with different sizes of canisters (maybe soup cans or pringles tubes!) and add your own touch! I hope you have as much fun making this as I did! Happy fall! :)
Sunday, 9 October 2011
Happy Thanksgiving!
Hey there!
Well, after polishing off WAYYYYY to much food, I have realized what exactly we are celebrating. Thanksgiving! I have so many things to be thankful for; food, family and a ton of amazing friends new and old. I am so grateful to have met all of you!
This little video of a sweet girl serves as a reminder of all the little things we have to be thankful for! I'm feeling like this girl today! Enjoy! :)
Well, after polishing off WAYYYYY to much food, I have realized what exactly we are celebrating. Thanksgiving! I have so many things to be thankful for; food, family and a ton of amazing friends new and old. I am so grateful to have met all of you!
This little video of a sweet girl serves as a reminder of all the little things we have to be thankful for! I'm feeling like this girl today! Enjoy! :)
Friday, 30 September 2011
Happiness

This Craft B*tch is wishing you nothing but the best. You are brilliant and amazing, and you deserve everything you're looking for <3 I'm here for you always
Wednesday, 28 September 2011
Tasty Treats: Caramel Apple Cupcakes
Hello!
Well folks, we can't deny it anymore. It's officially fall! I think fall is definitely one of the most beautiful seasons...all the colors and the crisp air! One of the things I love the most about autumn is the delicious food and I think these cupcakes are the perfect treat to ease yourself into cooler weather :) I got this recipe from Rachel Ray Everyday October 2010 issue, a great source for awesome recipes-even homemade dog food!
Ingredients:
1 1/4 cups flour
2 tsp baking powder
1/2 tsp ground cinnamon
1/2 tsp salt
2 eggs, at room temperature
1/2 cup packed light brown sugar
1/2 cup granulated sugar
1/2 cup vegetable oil
2 tsp pure vanilla extract
3 Gala Apples (about 1 pound), peeled and shredded
1 1/2 cups chewy caramel candies
1 tbsp heavy cream
Start by peeling and shredding your apples. Shredding the apples instead of chopping ensures even distribution in the batter and helps keep the cupcakes moist. You get apple with every bite of caramel!


Arrange a rack in the upper third of the oven and preheat to 350˚F. Line a cupcake pan with baking liners. In a large bowl, whisk together the flour, baking powder, cinnamon and salt.


In a small, microwavable bowl, combine the caramels and cream. Microwave for 1 minute at medium power, then stir; repeat in 30-second intervals until melted and smooth. Let cool. Spread the frosting generously on the cooled cupcakes. I used a silicone pastery brush, this worked really well and didn't rip apart the top of the cupcake like using a knife or spoon did.
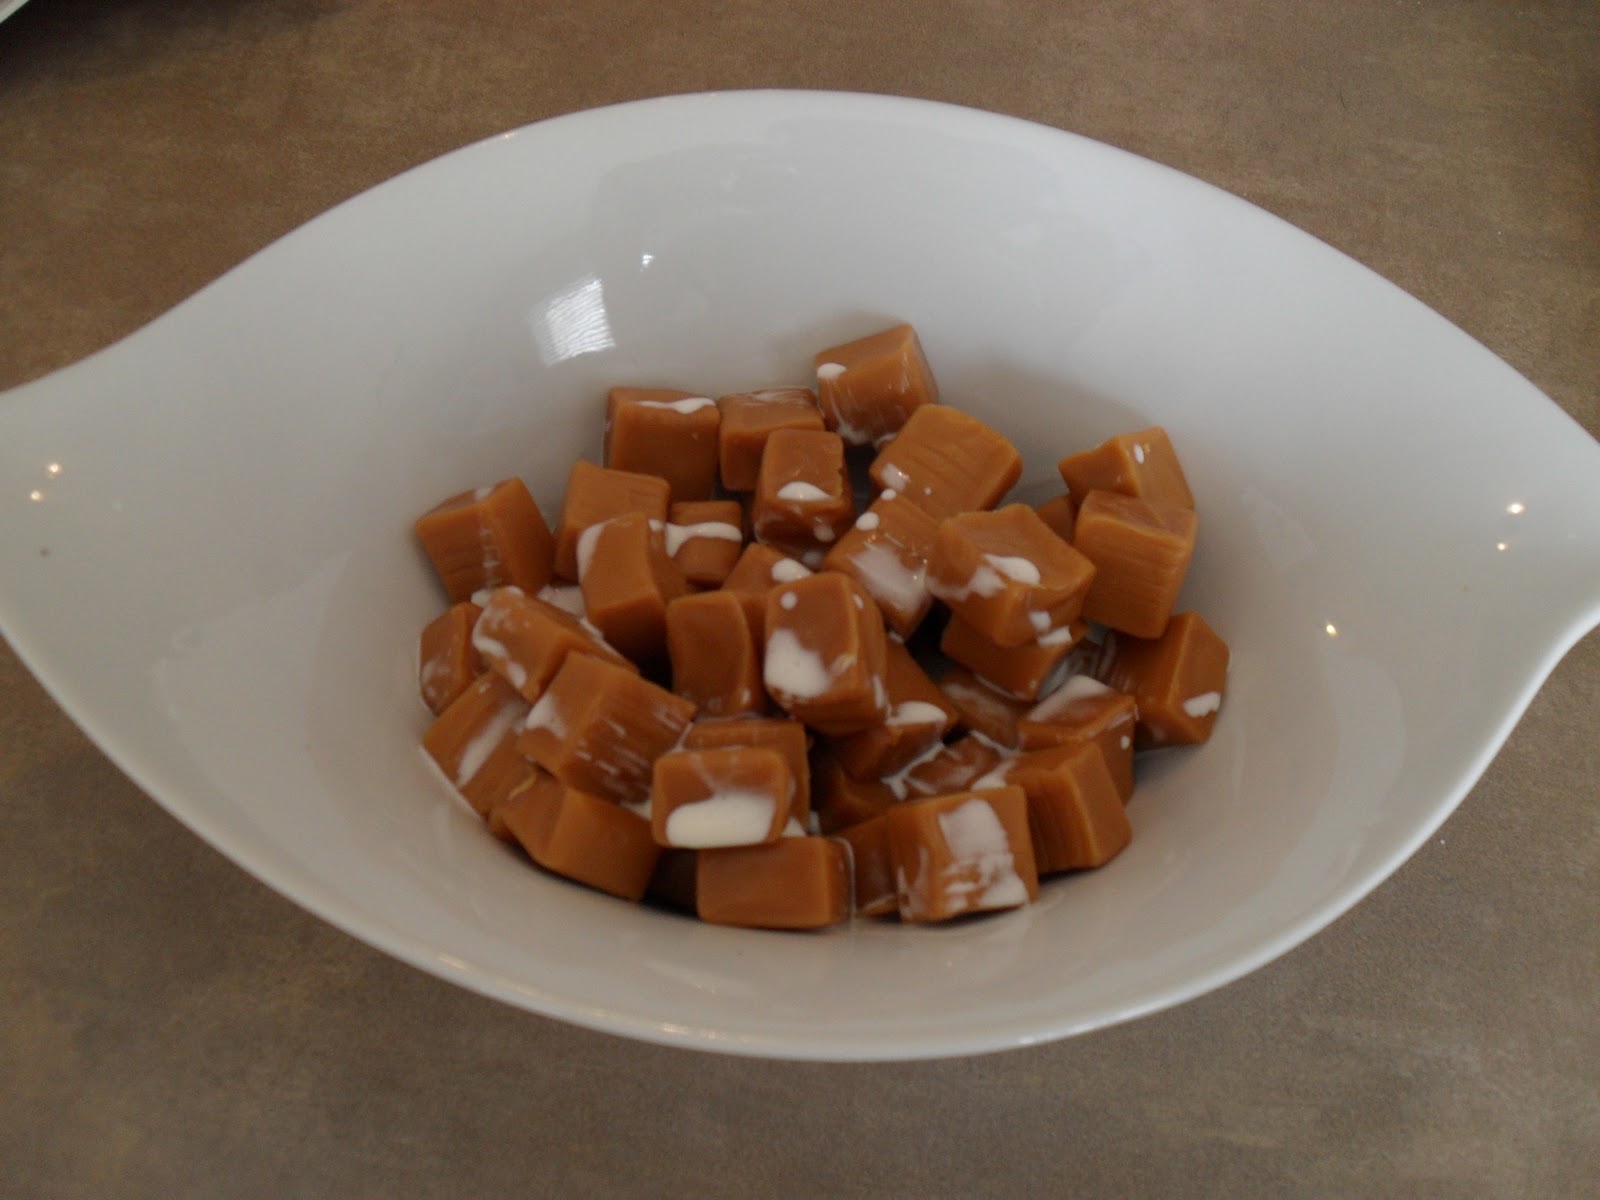


Yum!!!! Gooey sticky goodness! Enjoy!!! :)
Monday, 19 September 2011
Happy Monday!
This is my favorite, most inspirational youtube video from my hooping role model..the amazing Sandra SaFire Sommerville. I hope you made a hoop of your own and you find this a source of inspiration as I do! Check out some of her other videos for great ideas for tricks and tutorials!
Subscribe to:
Posts (Atom)